A step-by-step guide to planning your campervan conversion
last updated: Dec 15, 2021
There is a lot to think about when planning your campervan conversion. Which tools will I need? Which materials should I buy? It can be difficult to know where to begin! If you’re wondering how to get going, you can use this step-by-step guide as your ultimate van build checklist. Building a van is a big (and fun) project that requires a lot of time and dedication. Preparation and planning are key, so we’ve put together a list of everything you need to consider before you begin.
Where do I start when converting a van?
Choose a van
Before you purchase anything to go inside your campervan, you’ll need to decide which base van you are working with. Think carefully about what size, shape and type of van is best for you. If you’ve never bought a van before, the choice of vehicles out there can be overwhelming.
Here are some questions to ask yourself:
- How many people will my van need to carry?
- Is it important that I can stand up inside?
- What is my budget?
- What age van and mileage would I be happy with?
- Do I want to take my van off-road?
Check out our guide on the best vans for a camper conversion here.
Set your budget
Before you begin your van conversion, it’s important to be realistic about what you can afford. You will probably want to spend about a two-thirds of your overall budget on the base van and the rest on the conversion. For example, with a budget of $10,000, that would mean spending $6,600 on the van and $3,3000 on the build. Remember that a cheaper base van probably won’t last as long, so you may not want to invest too much in the camper conversion.
Decide on any big purchases at the start and make a spreadsheet of everything you plan to buy. For example, if you know you want to splash out on an expensive fridge–lock it in your budget straight away and then work out how much you can spend on the rest of the build.
When it comes to buying materials and appliances for your van conversion, make sure that you shop around to get the best prices. Check local timber yards for the best price on wood rather than heading straight to big chain stores. Buying small parts on Amazon and eBay can often be the most cost efficient–but try to order everything that you need in one go to save on postage costs.
If your plans are looking a bit over budget, compare alternative options to find something that you can afford. For example, instead of buying a high-end $400 roof fan, you can pick up a simple vent for as little as $60.
For a better idea of what it might cost you, check out our complete campervan cost breakdown for every budget.
Decide on a layout
Planning your campervan layout is an important step, and you will need to spend some time thinking about it. You’ll want to make sure that your van is both functional and comfortable–taking advantage of every inch of space for storage and leaving room for a cosy sleeping area. It’s helpful to look at other van conversion layouts for inspiration and decide what your priorities are. Do you need a garage area to store lots of gear? Would you rather have a fixed bed than have to make one up every day?
Get the right tools
There are a few basic tools you will want to invest in to help your conversion go smoothly. A good drill, screwdrivers, wrenches and a jigsaw are a good starting point. Of course, the more power tools you have access to, the easier it will be to build things quickly and precisely. Try to pick up tools second hand or borrow ones you will only need occasionally.
Find a workspace
Depending on the time of year, try to find somewhere dry and warm to build your van. Every van builder dreams of having a sheltered and secure off-road barn to carry out their conversion–but you can build your van on the street if you need to. Remember, building in the winter through snow and rain can make it even more challenging! You should also make sure that the space you are building in is large enough to move large sheets of material around.
How do I plan a van conversion?
Step 1 – Research
If you already follow vanlifers on Instagram or YouTube, then you’ve probably already begun the research for your dream van. Get into the habit of saving images you like–or even make a Pinterest board with all your favourite ideas. Once you’ve established which interiors, layouts and styles you like, then you’re ready to get started on the rest of the planning!
Step 2 – Plan your van layout
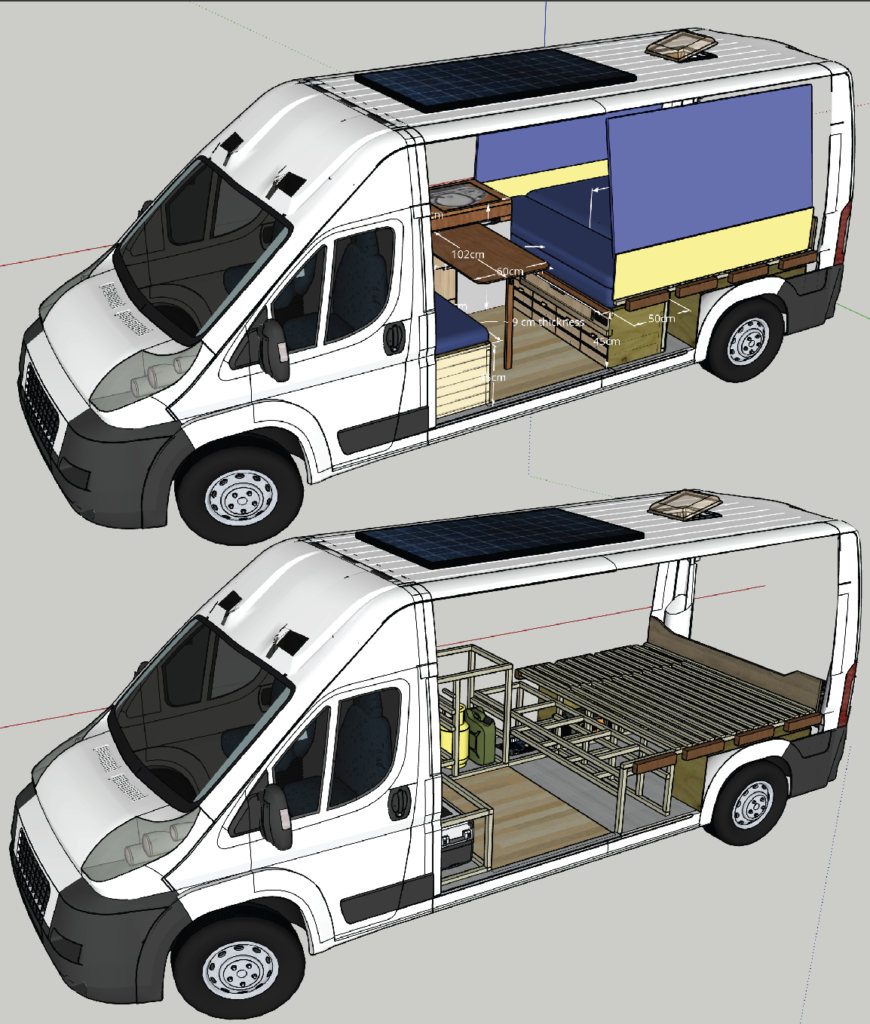
Planning your van layout is a visual process. It’s helpful to experiment with different layouts before you decide on a final design. Start by taking some masking tape into your van and mark out where you think the bed, kitchen and seating areas should be. This will give you a great indication of how your layout will feel and will allow you to move things around until you are happy with them.
Once you are set on your layout, it’s important to take lots of measurements so that you can make sure everything will fit. Measure the space and draw out your design, either by hand, or using a 3D modelling software like SketchUp.
Are you converting a Relay/Ducato/Pro Master? You can now download the CAD model from my latest conversion to help with your own layout.
Step 3 – Windows and ventilation
Before you get on with the rest of the build, it’s time to cut some holes in your van! This is always a scary moment, but once you have light and fresh air coming in, your van will already feel much more like a home.
Step 4 – Insulation and sound deadening
Next up you’ll want to prepare your van by adding sound deadening and insulation. Dodo dead mats are a brilliant solution for making your van more sound proof from both the inside and outside.
When it comes to insulating your van, PIR boards work well for floors and ceilings and soft insulation is perfect for curved walls or tight spaces. Make sure to include a vapour barrier on top of your insulation to prevent condensation.
Step 5 – Gas and heating
When planning your gas and heating installation, you will need to decide which appliances you plan to use. Gas can be used to power your cooker, space heater and water heater. It’s important to note that you must get a ‘room safe’ gas water heater in order to use it inside your van. These come at a higher cost than regular gas water heaters that can be used for showering outdoors.
Refillable LPG gas tanks can be installed either underneath the van (underslung), or inside the van in a sealed gas locker. You should fit a filling point outside the van in a safe location–away from the exhaust and any opening windows. If you carry out the installation yourself, it’s important to get it checked by a gas safety engineer. There’s also the option of buying refillable gas canisters for cooking, which is simpler than installing a full LPG system, but less economical in the long run.
Another option for heating your van is via a diesel heater. This was previously a more expensive option, but there are now Chinese style replicas available for a low cost. You will need to cut a hole in the floor of your van for the exhaust and make sure that you have a carbon monoxide alarm fitted for safety.
Step 6 – Electrics
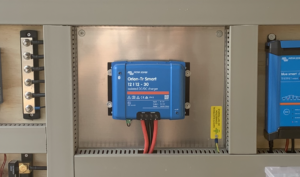
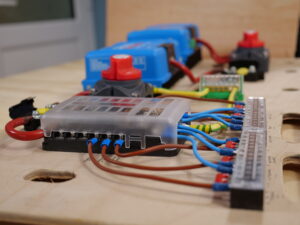
Before you put up the walls and lay down the floor, you should run cables across the van for your lighting and appliances. If you are using solar to power your van, you’ll need a solar charge controller to convert the power to a usable voltage to charge your batteries. Lots of campervan appliances run off 12v–such as lights and fridges. However, if you want to power a regular household appliance that uses 230v power, such as a blender, you’ll need to run additional cables and install an inverter to convert the 12v power to 230v.
To plan the rest of your electrical setup, you should work out how much power you will need in your van. The amount of solar you install will affect how quickly you can charge your batteries. If you plan to spend a lot of time in cloudy places, then it’s also useful to install a split charge relay so that you can also have the option of recharging your batteries as you drive.
There is a detailed example of how to calculate your power usage in the van conversion guide.
Step 7 – Floors and Walls
Choose a hard-wearing and durable material for your van floor. Once you’ve laid down the insulation, you’ll want to cover it with plywood or OSB to create a solid base before covering it with a wipeable finished surface. Vinyl, lino or laminate work well and is easy to keep clean. For the walls, cover your insulation with something lightweight–like plywood or cladding. You may need to cut holes in the walls or cladding for electrical cables or plug sockets.
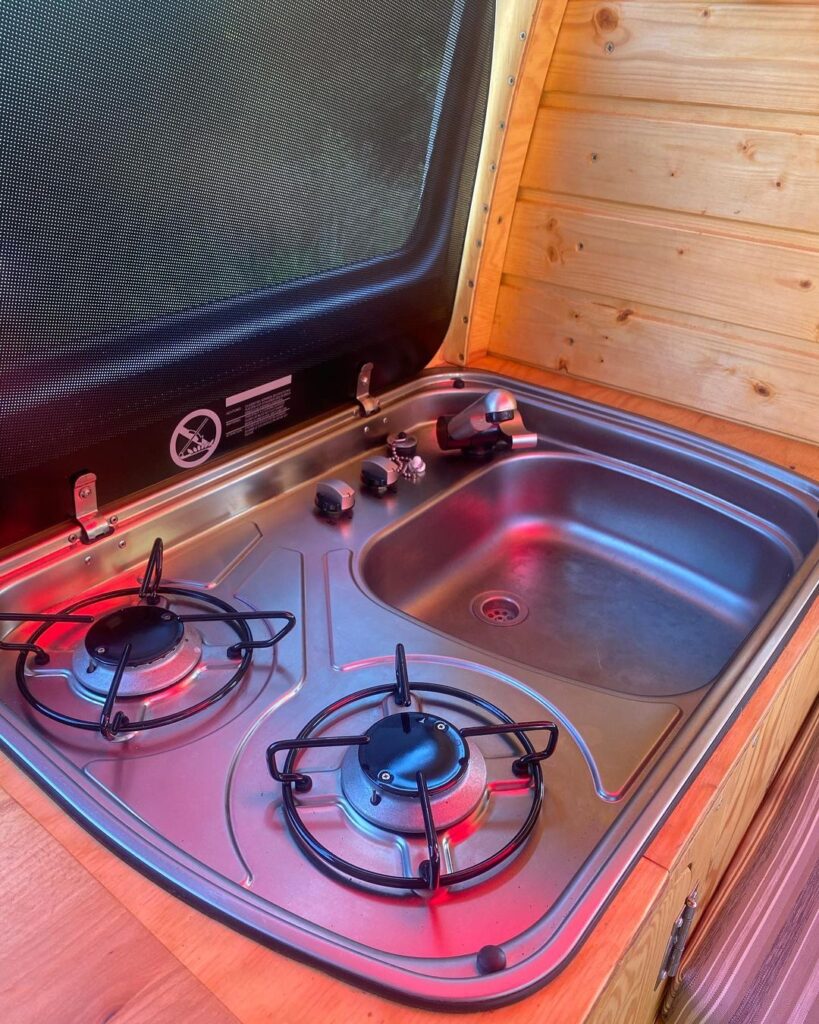
Step 8 – Kitchen
Your kitchen setup can be very basic or super well equipped depending on how much you like to cook. Some vanlifers are happy with a portable stove and a jerry can for water, while others prefer to have a fully plumbed sink and a permanent gas hob. While a campervan fridge is a luxury, if you will be living in your van full time or spending a lot of time in warm places, then it’s definitely worth investing in one.
When installing a sink, you will need both a fresh and grey water tank. The fresh tank can be filled with clean water for cooking, drinking and washing, and the grey tank will collect the water from your sink until you can dispose of it in a grey water drain.
Check out these 10 Van Conversion Kitchen Designs
Step 9 – Bed design
The biggest decision to make when planning your bed design is whether to have a permanent fixed bed. Another option is to have a transformable seating area that doubles as a bed. This allows you to have more space in your van during the day, but also means that you will have to pack away the bed every morning.
You should also consider if you can sleep comfortably across the width of your van. If you are taller, you may find that you will need to sleep lengthways, and this will impact your design.
You could decide to build your campervan bed to the size of a standard mattress, or alternatively you could get a foam mattress and cut it to size using an electric bread knife.
Check out these 10 Van Conversion Bed Designs for inspiration
Step 10 – Showers and toilets
Bathroom or no bathroom? It’s a controversial debate that often divides vanlifers! While some people don’t like the idea of going to the toilet in their tiny home, if you plan to live full time in your van you’ll probably want to install one so that you’re not caught short in an emergency.
Even if you don’t create a full bathroom inside your van, there are plenty of clever ways to fit in a toilet and shower. Chemical toilets are affordable and simple to use but can be unpleasant to empty. There’s also the more environmentally friendly option of installing a composting toilet. These can be expensive to buy, but also easy to make your own.
For showering, you can opt for a simple camp shower, or decide to build a small wetroom cubicle if you have the space.
Check out the top 5 toilet solutions for your campervan
How hard is it to convert a van to a camper?
There’s no denying that converting a van to a camper takes time, dedication and commitment. Depending on how much DIY experience you have to begin with, you may need to learn a few new skills–but you can definitely convert a van even if you don’t have any experience at all.
Need more help? If you are looking for a complete resource on how to convert your campervan, our ebook is full of handy tips and exclusive how to videos.
Get the van conversion guide
Build your own adventure
The guide anyone can use to convert a van into a camper! With over $350 worth of savings inside
Do you want to live vanlife at zero cost?
Nate Murphy knows how to buy vans, convert them quickly and efficiently - use them for years - and then sell them for a profit. This can make vanlife not just free, but profitable!
He has successfully done this for years and he teaches his friends and students to do exactly the same. It is not obvious, but anyone can do it if they have the knowledge!
Join Nate at his free online training (running today) and he will teach you exactly how he does this!

The Van Conversion Guide (14th Edition)
The guide anyone can use to convert a van into a camper! This best-selling guide, now in its 14th Edition, has been used by thousands of people to transform a van into a camper.
- 150+ page eBook
- Helps you convert any kind of van
- Diagrams for all the main systems
- FREE mini-course - 28 video tutorials
