Van conversions Cladding & Danish Oil
last updated: Dec 15, 2021
I used interior cladding – it has a better finish but tends to be a little more expensive.
Cladding comes in a range of thicknesses – and I used the thinner 7mm cladding simply to reduce the loss of height and to keep the weight down.
Typically the cladding has a smooth side and a slightly rougher side. Just make sure you are putting it on the right way!
Applying the cladding to the window side. I first screwed plywood strips to each end (see where the cladding is screwed) and also in the middle. The cladding is fixed at both ends with screws, and in the middle using cladding clips.
Cladding clips. They usually come in packs of 50 or 100 and include little nails. The spiky projecting section shares the slot in the cladding’s groove and the nail goes in the hole behind it as the fixing.
For the top of the van, as we have fixed points to fix the cladding (the block work across the ceiling) to you need to ensure the joins are on one of these bits of block work.
The longest cladding I could find was 3m long, about 30cm too short to go the full length of the roof. For that reason I cut the cladding down to two lengths. Half from the front to the second to last block work. And the other half the length from the back to the front block-work.
I started on one side of the van and worked my way over to the other. Cladding clips essentially mean you can only work one way!
Along the tongue of each piece of cladding I put a thin line of Sikaflex 221 glue. The idea was to reduce any creaking and make it more solid. Either creaking sounds is not an issue from the cladding, or it worked!
As I went I measured and cut holes for the roof attachments, lights and for the extraction fan. This was done BEFORE fixing the cladding up.
At the front of the van the curve the joint had to go through was a little too much so I had to put one line of screws (on the non joined ends) to support the paneling better. I used some nice brass screws for this.
Once done, I sanded the cladding down. I used P150 sandpaper.
Build your own adventure
The guide anyone can use to convert a van into a camper! With over $350 worth of savings inside
Check our Electrical Design Service!
Our award-winning Electrical Design Service you receive 1-on-1 help from an experienced off-grid electrical engineer who takes your ideas toward a system that works.
Get it right the first time and save money, time, and stress!
The Van Conversion Guide (14th Edition)
The guide anyone can use to convert a van into a camper! This best-selling guide, now in its 14th Edition, has been used by thousands of people to transform a van into a camper.
- 150+ page eBook
- Helps you convert any kind of van
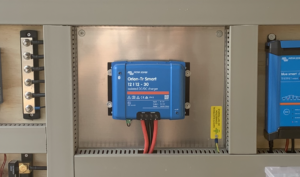
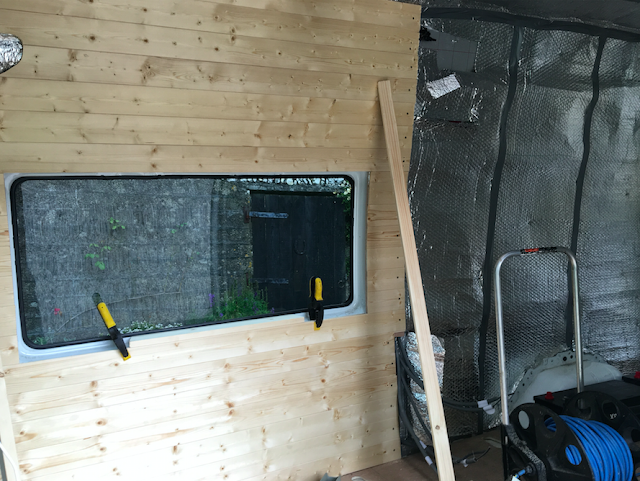
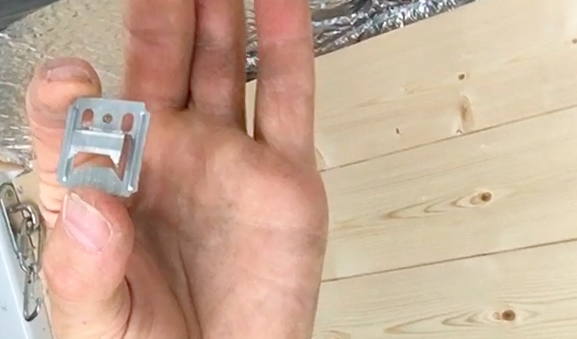
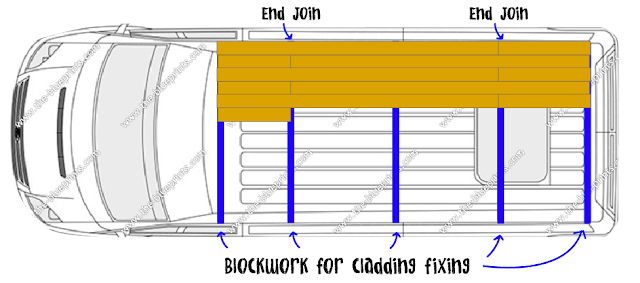
- Diagrams for all the main systems
- FREE mini-course - 25 video tutorials